

Create a campaign
Creating a campaign happens in two parts. First, you set up the campaign itself, which is quick. Then you build its first variant, where the real work happens.
If this is your first one, follow Quickstart: abandoned cart campaign instead. It walks through a real example with every setting filled in.
Part 1: Set up the campaign
-
Go to Campaigns in the sidebar.
-
Click Create New Campaign.

Creating a new campaign
-
A popup will appear where you can set the name and description, select a usecase and the target segment. Give it a name and a short description. Use a name you will recognize in a list six months from now. "Abandoned cart popup for returning visitors" beats "Popup 3".
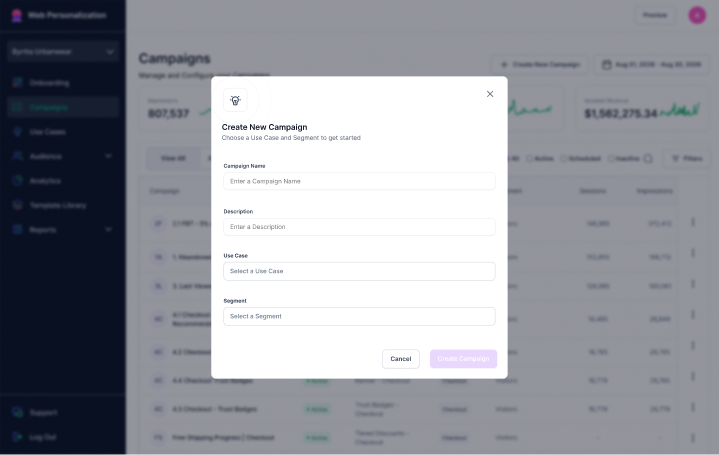
New campaign popup
-
Pick the use case. This is the element people will see.
-
Pick the segment. This is who will see it.
-
Click Create Campaign.
The use case and segment are what define this campaign. Everything after this point belongs to a variant.
Part 2: Build the variant
Creating the campaign takes you straight into building its first variant. The steps below are that variant's settings.
To add more variants later, open the campaign and click Create New Variant. See Manage campaigns and variants.
Select a template
Pick the design your element will use. The Template Library has ready-made templates you can browse and filter.
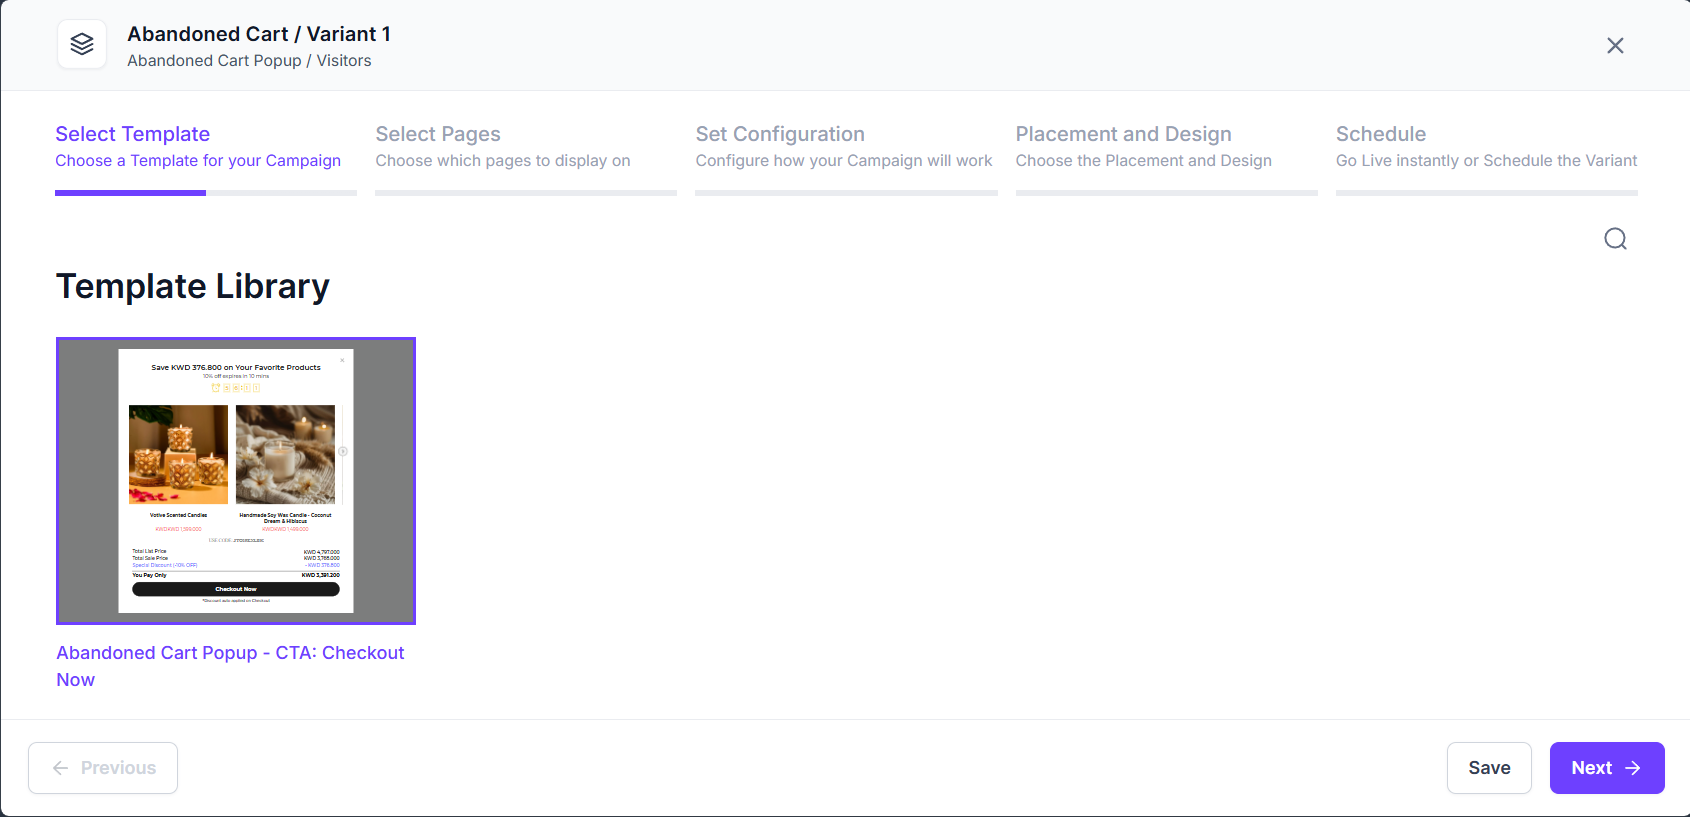
Template selection
You can change the colors, fonts, images, and words later. Pick the layout that is closest to what you want.
Select pages
Choose where the element appears. Attryb recognizes the standard Shopify page types, so you can pick Homepage, Product Page, Category Page, Blog Page, or Cart Page directly.
For anything else, choose Other Pages.
Set the configuration
This is where you decide when the element shows up and how often. Each setting is explained in Campaign settings:
- Trigger: what has to happen before it can appear
- When to display: how long to wait once that happens
- Frequency capping: how often one person can see it
- Overlap prevention: what happens if another element is already on screen
- Discount: the offer, if this element carries one
Placement and design
Set where on the screen the element sits, then edit the text and styling.
Check it on mobile, desktop, and tablet before moving on. Most stores get most of their traffic on phones, and an element that looks right on a laptop can cover half a phone screen.
Review and schedule
Check everything on the review screen: pages, trigger, timing, frequency, design, and the offer.
Then choose when it runs. Start it now, or set a start date and the variant waits as Scheduled until then. Set an end date too if the offer expires. A flash sale banner still running in March is worse than no banner.
Click Finish to save and activate.
After it goes live
Give it a day, then check Campaign performance to see impressions, clicks, and conversions.
Updated about 1 month ago